

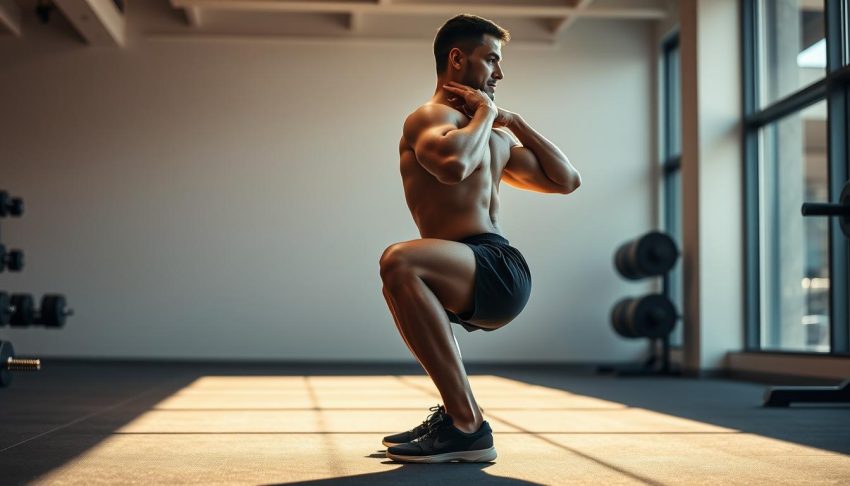
Welcome to your guide for mastering one of the most effective movements in strength training! Whether you’re new to the gym or looking to refine your skills, getting your technique right makes all the difference.
This powerful movement engages multiple muscle groups at once. It builds overall strength and helps with building muscle throughout your entire body. Your legs, core, and back all play important roles.
Learning the correct way to perform this movement prevents injury and maximizes your results. We’ll walk you through step-by-step tips based on expert advice.
Let’s dive in and help you feel stronger and more confident with every rep!
Key Takeaways
- Squats work multiple muscles and are great for full-body strength.
- Good form helps you avoid injuries and get better results.
- It’s not just a leg movement—your core and back are involved too.
- This guide offers easy tips to improve your technique.
- Focus on balance and control during each repetition.
- Practice consistently to see gains in fitness and muscle development.
Why Mastering Squat Exercise Proper Form Matters
Getting your movement right is more than just lifting heavy. It’s about building a strong foundation for your entire fitness journey. Good technique makes every rep count.
The Foundation of Effective Strength Training
This powerful movement activates multiple muscle groups at once. Your legs, back, and core all work together. This creates a solid base for all your strength activities.
Using full range of motion builds more muscle than partial reps. Going deep engages your glutes and hamstrings better. This leads to stronger legs and better overall development.
Injury Prevention Through Proper Technique
Keeping your body aligned protects your joints. It prevents strain on your lower back and knees. Good form keeps you training consistently without setbacks.
Many people experience pain when their technique slips. Focusing on stability and balance reduces this risk. Your body will thank you over time.
Maximizing Your Results with Correct Form
Better technique means you can handle heavier weights safely. This accelerates your strength gains and muscle growth. Every session becomes more productive.
Prioritize quality movement over added weight. Build a strong foundation first. The results will follow much faster this way.
The Incredible Benefits of Squatting Regularly
The true value of this foundational movement reaches far beyond the gym. It transforms how you move and feel in everyday situations. Consistent practice delivers rewards that improve your entire quality of life.
Building Total Body Strength and Muscle
This powerful movement engages your entire physique. While your legs get stronger, your core and back work equally hard. Your upper body stabilizes the weight throughout each repetition.
This comprehensive engagement means you’re building muscle everywhere. Your quads, glutes, and hamstrings develop noticeably. Meanwhile, your abdominal and back muscles gain definition too.
The compound nature makes it incredibly efficient. You achieve full-body development in one movement. This saves time while maximizing your fitness results.
Improving Functional Movement for Daily Life
The skills you develop translate directly to everyday activities. Bending down, lifting objects, and standing up become effortless. You move with confidence and stability in all situations.
Research shows this carryover effect is significant. A 2013 study demonstrated improved balance and core control. Participants reported easier performance of daily tasks.
“The functional benefits extend beyond mere strength gains to improved quality of movement in everyday life.”
This practical improvement makes life more enjoyable. You’ll notice the difference when climbing stairs or carrying groceries. Your body moves with natural efficiency.
Enhancing Bone Density and Joint Health
Weight-bearing movements stimulate bone growth effectively. They encourage your body to maintain strong skeletal structure. This is particularly valuable as we age.
Studies show remarkable benefits for bone mineral density. Postmenopausal women especially see protective effects. Regular practice can help combat osteoporosis development.
Your joints also receive valuable support. Stronger surrounding muscles provide better stabilization. This reduces wear and tear over time.
Incorporating this movement offers long-term health advantages. The benefits extend far beyond temporary fitness goals. You’re investing in your body’s future resilience.
Essential Muscles Worked During Squats
Understanding which parts of your body activate during this powerful movement helps you maximize results. Knowing your anatomy transforms how you approach each repetition.
Your entire physique contributes to successful execution. Different muscle groups play specific roles in creating movement and stability. This comprehensive engagement builds total-body strength.
Primary Movers: Quads, Glutes, and Hamstrings
Three major muscle groups drive the upward and downward motion. These powerhouses generate the force needed to move weight.
- Quadriceps – Located on the front of your thighs, these muscles extend your knees during the ascent
- Glutes – Your buttocks provide hip extension power to stand up from the bottom position
- Hamstrings – These back-of-thigh muscles work with your glutes for hip extension and stability
These primary movers work together seamlessly. They create the explosive power needed for heavy lifting. Strong development here translates to better performance in all lower body activities.
Stabilizing Muscles: Core and Back
Your torso muscles provide crucial support throughout the movement. They maintain proper positioning and prevent collapsing under load.
Your abdominal muscles and spinal erectors work as a team. They keep your spine neutral and torso upright. This stability protects your lower back from strain.
Research shows core engagement increases significantly under heavier loads. This natural progression builds impressive midsection strength over time.
Secondary Engagement: Calves and Upper Body
Even smaller muscle groups contribute to overall success. Your calves help maintain balance through the entire range of motion.
Your upper body plays a surprising role in lower body training. Shoulders, arms, and upper back muscles stabilize the bar position. This full-body coordination develops mental focus alongside physical strength.
“The comprehensive muscle engagement during squats builds both physical power and mental resilience simultaneously.”
Understanding these muscle relationships helps you focus on proper engagement. Mind-muscle connection improves your technique and results. You’ll develop balanced strength throughout your entire physique.
Setting Up for Squat Success: Pre-Squat Preparation
Great preparation sets the stage for amazing results. Your time before lifting makes a huge difference in performance and safety. Smart setup choices help you move better and feel stronger.
Think of this as your personal pre-game routine. Each element works together to create optimal conditions. You’ll notice improved balance and confidence with every rep.
Choosing the Right Footwear and Equipment
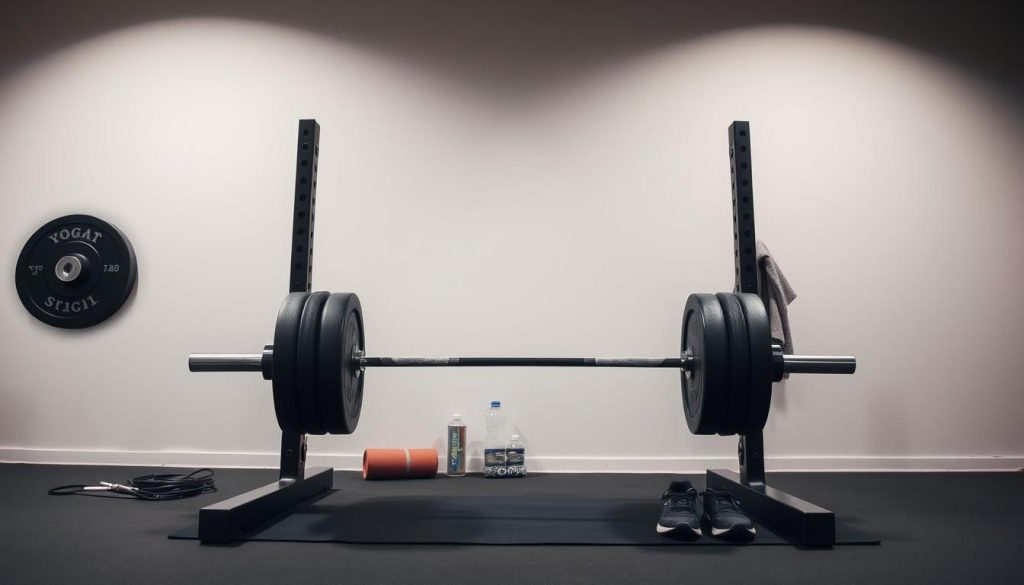
Your shoes matter more than you might realize. Flat-soled footwear provides stable contact with the ground. This improves your balance throughout the entire movement.
Look for shoes with minimal cushioning in the heel area. They allow better force transfer from your body to the floor. Your feet stay planted securely during each repetition.
Safety equipment deserves equal attention. A power rack offers essential protection when handling heavy weight. Adjust the safety pins to just below your deepest position.
These simple choices prevent unnecessary pain and potential injury. They create a foundation of security that lets you focus on movement quality.
Proper Warm-Up and Mobility Exercises
Your body deserves proper preparation before loading. Dynamic stretching activates muscles and increases blood flow. This reduces stiffness and improves range of motion.
Try these effective pre-lift activities:
- Hip circles and leg swings to open tight joints
- Ankle mobility drills for better depth
- Bodyweight squats to practice movement patterns
Gradually increase intensity over 5-10 minutes. Your body will feel ready for the work ahead. This investment pays off in better performance and reduced injury risk.
Mental Preparation and Focus Techniques
Your mind plays a crucial role in physical success. Mental preparation builds confidence before approaching the bar. It transforms nervous energy into focused power.
Visualization techniques create neural pathways for perfect execution. Imagine each phase of the movement before beginning. See yourself moving with control and strength.
Controlled breathing centers your attention and calms your system. Inhale deeply before descent, exhale powerfully during ascent. This rhythm maintains focus throughout your set.
“Mental rehearsal activates the same neural patterns as physical practice, enhancing performance through improved mind-muscle connection.”
These techniques transform your approach to heavy weight. You’ll notice improved consistency and better results over time.
The Perfect Squat Stance: Foundation of Proper Form
The position of your feet creates the blueprint for your entire movement pattern. Getting this foundation right makes every repetition more effective and safe.
Your stance determines how well you can achieve depth and maintain stability. Small adjustments here create big differences in your performance.
Finding Your Ideal Foot Position and Width
Start with your feet about shoulder-width apart. This width allows your hips to descend comfortably between your legs.
Your natural stance might vary based on your body structure. Wider hips often benefit from a slightly wider foot placement.
Experiment to find what feels strongest for your unique build. The right width lets you reach proper depth without compromising balance.
Optimal Foot Angle: The 30-Degree Rule
Point your toes outward approximately 30 degrees. This angle aligns your knees with your foot direction throughout the movement.
This positioning prevents knee cave-in that can cause joint stress. Your knees should track over your toes during descent and ascent.
The slight outward rotation engages your glutes more effectively. It creates better hip mobility for deeper range of motion.
Weight Distribution and Balance Points
Distribute your weight evenly across your entire foot. Maintain contact through your heels, midfoot, and toes throughout the movement.
Keep your heels firmly planted on the floor. This stability ensures the bar path stays vertical and balanced.
Imagine three points of contact: heel, base of your pinky toe, and base of your big toe. This tripod foundation creates incredible stability.
Your perfect stance might differ from training partners. Experiment during warm-up sets to discover your strongest position.
Focus on what feels natural and powerful for your body. The best stance is the one that lets you move with confidence and strength.
Step-by-Step Guide to Squat Exercise Proper Form
Let’s break down the complete movement into manageable phases. This systematic approach helps you build confidence with each repetition.
Mastering each component creates a smooth, powerful pattern. You’ll develop muscle memory that makes every rep feel natural.
Initial Setup and Bar Positioning
Approach the bar with confidence and purpose. Position yourself directly under the center of the weight.
Place the bar across your upper back muscles. Choose between high or low placement based on comfort.
Your grip width should feel secure and comfortable. Keep your hands slightly wider than your shoulders.
Unrack the weight by straightening your legs completely. Take one small step back with each foot.
Find your stable stance before beginning your descent. This preparation sets you up for success.
The Descent: Controlling Your Movement
Initiate the downward phase by bending your hips and knees together. Maintain a tall chest position throughout.
Keep your knees tracking over your toes during the entire motion. Push them outward slightly to engage your glutes.
Maintain a neutral spine position as you lower yourself. Your back should remain straight but not rigid.
Continue descending until your hips break parallel with your knees. This depth ensures full muscle engagement.
Control your speed throughout the downward movement. Avoid dropping too quickly or moving too slowly.
The Ascent: Powerful and Controlled Return
Begin your upward drive by pushing through your entire foot. Focus on driving your hips upward powerfully.
Keep your chest up and your knees pushed outward. Maintain the same bar path you established during descent.
Drive upward with controlled power until fully standing. Squeeze your glutes at the top position.
Exhale as you complete the upward movement. This breathing pattern enhances stability and power.
Maintain tension throughout your entire body during ascent. This control prevents momentum from taking over.
“The vertical bar path over midfoot remains the golden rule for efficient force transfer and safety.”
Practice this complete pattern with light weight initially. Gradually increase load as your confidence grows.
Each phase connects seamlessly to create one fluid motion. Your consistency will build impressive strength over time.
Achieving Optimal Squat Depth
How low should you go? This question matters for both safety and effectiveness. Finding your ideal range of motion maximizes results while protecting your joints.
Understanding Parallel and Below Parallel
Breaking parallel means your hips descend below your knee tops. This position ensures full muscle engagement throughout your thighs and hips.
Reaching this depth activates your glutes completely. It also develops strength through your entire range of motion.
Many trainers recommend stopping just below parallel. This prevents excessive lower back rounding that can cause discomfort.
Individual Flexibility Considerations
Your natural flexibility affects how deep you can comfortably go. Hip socket structure and mobility play significant roles.
Some people achieve amazing depth naturally. Others need more practice to reach parallel positions.
Always respect your body’s current limitations. Forcing extreme positions often leads to unnecessary pain.
Aim for at least parallel as your minimum target depth. This ensures proper muscle development and balanced strength.
How to Safely Increase Your Range of Motion
Improving your depth requires patience and consistent practice. These methods help expand your capabilities safely:
- Goblet variations – Holding weight front-loaded improves balance and allows deeper movement
- Box training – Using a box teaches your body to reach specific depths consistently
- Daily mobility work – Hip and ankle stretches increase flexibility over time
Practice with lighter weights focuses on technique rather than heavy loading. This builds confidence while expanding your range.
“Depth should enhance your movement quality, not compromise your spinal positioning or cause knee discomfort.”
Listen to your body’s feedback during each session. Sharp pain indicates you’ve gone too far for your current ability.
Proper depth prevents muscle imbalances and maximizes training benefits. It should feel challenging but never painful.
Remember that everyone progresses at different rates. Celebrate small improvements in your range of motion.
Upper Body Positioning Techniques
Proper positioning above the waist creates a solid foundation for heavy lifting. Your upper body setup determines how well you control the bar throughout the movement.
Getting these elements right prevents discomfort and improves your overall performance. Let’s explore the key components that make your upper body work effectively.
Proper Grip and Hand Placement
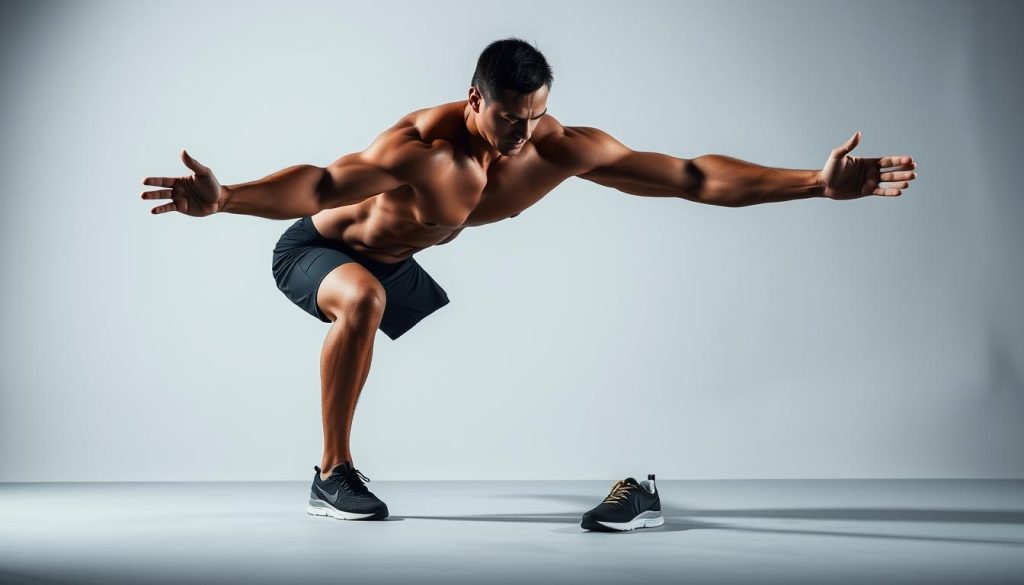
Your hand position on the bar affects your entire upper body tension. Use a medium-width grip that feels comfortable and secure.
Squeeze the bar firmly without trying to support the weight with your hands. This approach prevents wrist strain and creates better upper back tightness.
Keep your wrists straight rather than bent backward. This alignment distributes pressure evenly and maintains comfort.
Chest Positioning and Spinal Alignment
Raise your chest before unracking the weight and maintain this position throughout. This technique keeps your torso upright and protects your spine.
Maintain a natural arch in your upper back to create a stable “shelf” for the bar. This positioning helps distribute the load evenly across your shoulders.
Your elbows should stay in line with your torso rather than flaring outward. This alignment enhances stability and prevents excessive strain.
“A tight upper back creates a solid platform for the bar, allowing for better force transfer and improved safety during heavy lifts.”
Head and Neck: Maintaining Neutral Position
Keep your head in a neutral position aligned with your torso. Look forward or slightly downward rather than upward or around.
This head placement helps maintain proper spinal alignment throughout the movement. It prevents neck strain and improves your overall balance.
Avoid extreme head positions that might compromise your form. Consistency here contributes significantly to your lifting safety.
These upper body techniques work together to create exceptional stability. They become especially important when handling heavier weights.
Practice each element separately before combining them into your complete setup. Your confidence will grow with each successful repetition.
Breathing Techniques for Maximum Power
Your breathing pattern plays a crucial role in generating strength and maintaining stability during heavy lifts. Mastering this skill transforms how you handle challenging weights with confidence.
Proper oxygen management supports your entire body under load. It prevents dizziness while enhancing your performance significantly.
The Valsalva Maneuver Explained
This technique involves taking a deep breath at the top position. Hold it during your descent to create internal abdominal pressure.
This pressure acts like a natural weight belt around your core. It stabilizes your spine and improves power transfer.
Exhale only after completing the upward movement. This pattern maintains tension throughout the entire repetition.
“The Valsalva maneuver increases intra-abdominal pressure by 20-40%, providing significant spinal support during heavy lifting.”
Breathing Patterns for Different Rep Ranges
Low repetition sets benefit from held breaths. This approach maximizes stability for each heavy repetition.
Higher repetition ranges require more frequent breathing. Inhale during descent and exhale during ascent for these sets.
Adjust your pattern based on the weight and your goals. Lighter loads allow more breathing flexibility.
Recovery Breathing Between Sets
Take several deep breaths before starting your next set. This replenishes oxygen levels throughout your body.
Avoid rushing between efforts. Allow your heart rate to stabilize naturally.
Proper recovery breathing prepares you mentally and physically. It ensures consistent performance across all sets.
These techniques work together to enhance your training experience. They support heavier lifts while maintaining safety.
Practice breathing patterns with lighter weights first. Build confidence before incorporating them into maximal attempts.
Common Squat Form Mistakes and How to Fix Them
Even experienced lifters sometimes develop habits that reduce effectiveness. Recognizing these patterns helps you train smarter and stay injury-free.
Small adjustments can make huge differences in your results. Let’s explore three common issues and their practical solutions.
Knee Cave-In: Causes and Corrections
Knees collapsing inward during ascent is a frequent issue. This movement stresses joints and reduces power output.
Weak glutes often cause this problem. Your hips struggle to maintain proper alignment under load.
Try these simple corrections:
- Consciously push your knees outward throughout each rep
- Strengthen hip abductors with band exercises
- Reduce weight until you master proper knee tracking
Focus on maintaining space between your knees. This protects your joints and improves performance.
Heel Lift: Solutions for Grounding Your Feet
Rising onto your toes indicates balance issues. This fault reduces stability and power transfer.
Poor ankle mobility often contributes to heel lift. Tight calves restrict your range of motion.
Effective solutions include:
- Mobility drills for ankles and calves
- Practicing with flat shoes for better contact
- Focusing on midfoot weight distribution
Keep your entire foot connected to the floor. This creates a solid foundation for powerful movement.
Butt Wink: Addressing Lower Back Rounding
Excessive pelvic tuck at depth compromises spinal safety. This usually appears as your hips drop too low.
Tight hamstrings often cause this rounding. Limited hip mobility also contributes to the problem.
Try these adjustments:
- Reduce depth until you maintain neutral spine position
- Incorporate daily hip mobility exercises
- Use box variations to control your descent
“Butt wink occurs when the pelvis posteriorly tilts at the bottom of a squat, potentially stressing the lumbar spine.”
Film your sets from the side to identify this issue. Small form improvements prevent long-term discomfort.
Remember that everyone’s anatomy differs slightly. Find what works best for your body structure.
Safety Considerations and Injury Prevention
Smart training practices keep you progressing consistently while avoiding setbacks. Your long-term success depends on prioritizing safety alongside performance.
Understanding proper equipment use and listening to your body’s signals creates a sustainable training approach. These practices ensure you build strength safely over time.
Using Power Racks and Safety Pins
Quality equipment provides essential protection during challenging sets. Power racks with adjustable safety pins offer reliable security.
Set the pins just below your deepest position before beginning your set. This placement catches the bar if you cannot complete a repetition.
This simple setup prevents accidents and builds confidence with heavier weights. You can push your limits knowing you have reliable protection.
Experts recommend avoiding Smith machines for this movement. Their fixed path can create unnatural movement patterns that increase injury risk.
Proper Weight Selection and Progression
Choose weights that challenge you while maintaining excellent technique. Your final repetitions should feel difficult but never compromise your form.
Progress gradually by adding small amounts of weight over time. Alternatively, increase repetitions before moving to heavier loads.
This conservative approach builds sustainable strength without unnecessary risk. Your body adapts safely to increasing demands.
“Progressive overload should challenge your muscles without compromising joint safety or movement quality.”
Listening to Your Body’s Warning Signs
Learn to distinguish between muscle fatigue and potential injury signals. Normal discomfort feels like burning in working muscles.
Sharp or sudden pain indicates you should stop immediately. Joint discomfort or shooting sensations require attention.
Take rest days when needed and address persistent issues promptly. Your long-term health matters more than any single training session.
Building strength takes time and consistent effort. Patience and smart choices lead to lasting results.
Essential Equipment for Safe Squatting
The right gear makes your training safer and more effective. Quality equipment supports your progress while protecting your body.
Smart choices here build confidence with every lift. They create a foundation for long-term success.
Choosing the Right Barbell and Weights
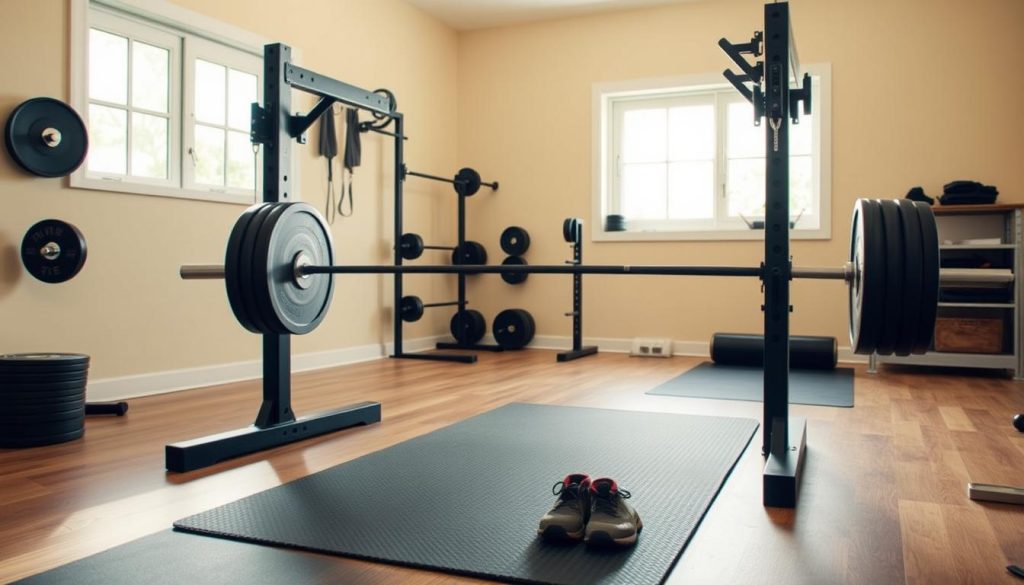
Olympic barbells offer superior durability and performance. Their rotating sleeves handle heavy loads smoothly.
Bumper plates provide consistent weight distribution. They protect your floor during challenging sets.
Standard 45-pound bars work well for most lifters. Women’s bars at 35 pounds suit smaller hands comfortably.
Free weights develop better stability than machines. They engage more muscles throughout each movement.
Power Rack vs Squat Stands: What You Need
Power racks provide maximum security for heavy training. Adjustable safety pins catch failed attempts safely.
These sturdy frames handle impressive weight amounts. They’re ideal for home gym setups.
Squat stands offer portability but less protection. They work well for lighter sessions with confident lifters.
Most trainers recommend power racks for regular use. The extra safety justifies the additional space required.
Optional Gear: Belts, Knee Sleeves, and Shoes
Weight belts increase intra-abdominal pressure during heavy sets. They provide extra core support when needed.
Knee sleeves maintain joint warmth and improve proprioception. They offer gentle compression without restricting movement.
Flat-soled shoes create stable contact with the ground. They improve balance throughout each repetition.
Specialized lifting shoes feature raised heels for improved ankle mobility. They help those with limited flexibility achieve better depth.
“Start with minimal equipment and add gear as your strength increases and specific needs become apparent.”
Your equipment should enhance your movement quality. Choose items that address your personal requirements.
Remember that consistency matters more than fancy gear. Focus on progressive training with whatever tools you have available.
Progressive Overload: Building Strength Safely
Growing stronger requires a smart approach to challenge your body over time. The principle of progressive overload ensures your muscles keep adapting and developing. This method prevents plateaus while keeping your training safe and effective.
Weight Increases vs Rep Increases
You can progress in two main ways: adding more weight or performing more repetitions. Both methods effectively stimulate muscle growth and strength development.
Small weight increases of 5-10 pounds work well for most people. This gradual approach allows your body to adapt without overwhelming your system.
Rep increases offer another valuable progression path. Adding one repetition per set challenges your endurance while building capacity.
The Stronglifts 5×5 method demonstrates this perfectly. It recommends adding weight each session while maintaining five repetitions per set.
Tracking Your Progress Effectively
Maintaining accurate records transforms your training experience. Tracking progress helps you make informed decisions about when to increase intensity.
Use a simple notebook or fitness app to record your numbers. Note your weights, sets, and repetitions after each session.
This documentation reveals patterns in your development over time. You’ll clearly see when you’re ready for the next challenge.
Review your records weekly to plan your upcoming sessions. This proactive approach keeps your strength journey moving forward consistently.
When to Deload and Recovery Principles
Strategic breaks accelerate your long-term progress. A deload week every 4-6 weeks prevents overtraining and refreshes your system.
During these lighter weeks, reduce your weights by 40-50%. Alternatively, decrease your volume by cutting sets or repetitions.
This planned recovery period allows your body to supercompensate. You’ll often return stronger than before your break.
Proper recovery includes adequate sleep and nutrition alongside training adjustments. These elements work together to support your strength goals.
“Systematic deloading prevents accumulated fatigue while maintaining training momentum and long-term consistency.”
Listen to your body’s signals between scheduled deloads. Extra fatigue or decreased performance might indicate needing an earlier break.
Remember that building muscle and strength requires patience and smart planning. Consistent effort over time produces the most impressive results.
Effective Squat Variations to Enhance Your Training
Mixing up your routine keeps things fresh and challenges your body in new ways. Different versions of this fundamental movement target various muscle groups and address specific training needs.
These alternatives can help break through plateaus and improve overall performance. They offer unique benefits that complement your standard barbell work.
Front Squats: Technique and Benefits
This variation positions the bar across your front shoulders rather than your back. You’ll need to keep your elbows high and your torso more upright throughout the movement.
This placement shifts emphasis to your quadriceps and core muscles. Your abdominal muscles work harder to maintain the vertical position.
Many lifters find this version easier on their lower back. It teaches excellent posture and develops impressive upper body mobility.
Start with light weights to master the unique bar position. The front rack position might feel challenging at first but improves with practice.
Goblet Squats: Perfect for Form Practice
Hold a single dumbbell or kettlebell vertically against your chest. This front-loaded position helps maintain proper torso alignment naturally.
Beginners love this variation for learning depth and balance. The counterweight encourages an upright posture and full range of motion.
It’s excellent for improving hip mobility and ankle flexibility. You can focus entirely on movement quality without worrying about heavy loading.
This version serves as a fantastic teaching tool and warm-up exercise. Many coaches use it to reinforce good movement patterns.
Box Squats: Building Explosive Power
This method involves descending until you sit completely on a box or bench. You pause briefly before driving upward with maximum force.
The pause eliminates momentum and builds pure strength from the bottom position. It teaches powerful hip drive and improves acceleration.
Box height should allow your hips to drop just below parallel. This ensures proper depth while providing a consistent target.
This variation develops incredible explosive power and control. It’s particularly valuable for athletes needing quick, powerful movements.
“Incorporating multiple squat variations develops well-rounded strength while preventing overuse injuries and training boredom.”
Rotate these variations into your program every few weeks. Each offers distinct advantages that complement your primary training.
They address different weaknesses and keep your workouts engaging. Your overall development will benefit from this strategic variety.
Incorporating Squats into Your Workout Routine
Now that you’ve mastered the technique, let’s talk about fitting this powerhouse movement into your training schedule. Smart programming makes all the difference in achieving your fitness objectives.
Frequency: How Often Should You Squat?
Most trainees benefit from performing this movement 2-3 times weekly. This frequency provides enough stimulus for growth while allowing adequate recovery.
Allow at least 48 hours between sessions targeting the same muscle groups. This prevents overuse injuries and ensures you’re fresh for each workout.
Your recovery capacity depends on several factors. Training age, sleep quality, and nutrition all influence how quickly your body bounces back.
Ideal Rep Ranges for Different Goals
Your repetition scheme should match your specific training objectives. Different rep ranges produce distinct physiological adaptations.
For pure strength development, focus on lower repetitions. The 1-5 rep range with heavier weights builds maximal force production.
Muscle growth responds best to moderate repetition ranges. Aim for 6-12 reps per set to optimize hypertrophy stimulation.
Endurance athletes might prefer higher repetition schemes. Working in the 12+ range develops muscular stamina and metabolic conditioning.
“Periodize your training by cycling through different rep ranges to develop well-rounded strength and prevent adaptation plateaus.”
Combining Squats with Other Exercises
This foundational movement pairs beautifully with various lower body exercises. Strategic combinations create comprehensive training sessions.
Many athletes combine them with deadlifts for complete posterior chain development. These two exercises complement each other perfectly.
Leg presses make excellent accessory work after your main sets. They allow continued stimulation with less technical demand.
Lunges and step-ups address unilateral strength imbalances. They’re perfect for finishing your leg day routine.
Remember to start with bodyweight versions if you’re new to training. Gradually add resistance as your confidence and ability improve.
Consistency over time produces the most impressive results. Stick with your program and adjust based on your progress.
Conclusion: Mastering Your Squat Journey
Your dedication to improving your technique leads to incredible results. This journey builds both physical power and mental confidence.
Consistent practice develops stronger legs and a resilient body. Patience and attention to detail create lasting fitness gains.
Remember the benefits extend beyond the gym. Enhanced daily movement and better health become part of your life.
Keep applying these tips during every session. Your progress reflects your commitment to excellence.
Share your achievements and stay motivated. Your strength journey continues with each successful repetition!